Boyar Crypts Lever Puzzle Guide: All 12 Crypt Solutions & Vaults
Complete solutions for all 12 Boyar crypt lever puzzles in Dawnwalker. Step-by-step glyph sequences, secret Saint Ingot vaults, and trap bypass mechanics.
FAQ
What happens if you pull a crypt lever in the incorrect sequence?
Which crypt contains the Consecrated Saint Ingot?
Can you solve the crypt puzzles after Day 28?
How does Anachora Sight assist in puzzle solving?
Quick Answer: Boyar Crypts Lever Puzzle Solutions
In The Blood of Dawnwalker, the ancient aristocracy sealed their greatest treasures behind 12 mechanical crypts scattered across Vale Sangora. Each crypt features a multi-lever locking puzzle linked to HEMA stance glyphs, Roman numerals, or celestial alignments:
- Core Mechanism: Pulling levers in the correct order engages heavy counterweights to lower steel portcullises and reveal hidden burial vaults.
- Trap Disarmament: Tripping incorrect combinations activates wall darts and floor spikes; activating Anachora Sight highlights underlying gear linkages and reveals tripwires in bright amber.
- Deadline Caution: All 12 crypts must be plundered before the Day 28 Solar Eclipse Lockout, as totality causes the vaults to flood with dark volcanic miasma.

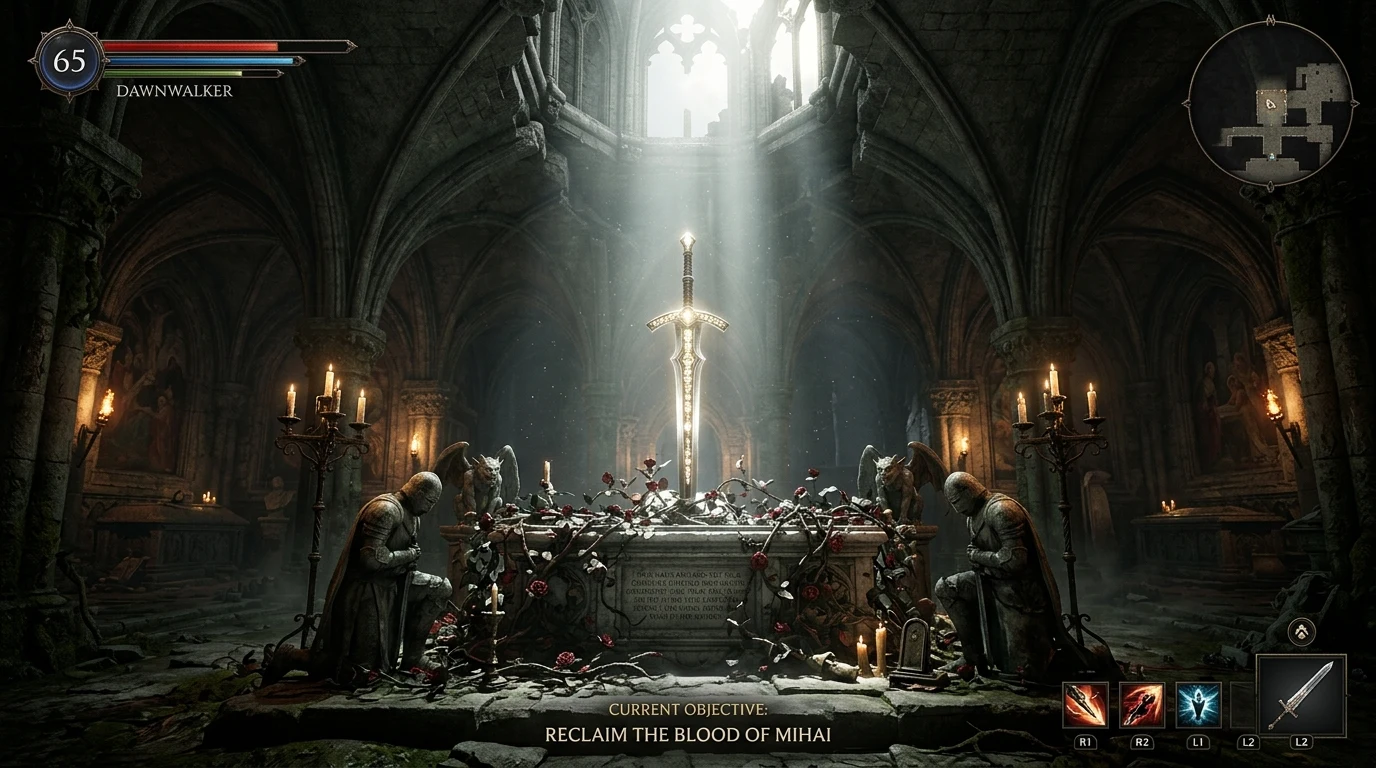
Gameplay Overview - Crypt Exploration
Complete 12 Crypt Lever Solutions Matrix
Reference this master sequence directory to unlock every vault and disarm defensive traps:
Master Lever Puzzle Directory
| Crypt # | Landmark / Region | Lever Code Sequence | Secret Room / Vault Loot | Trap Disarm Mechanism |
|---|---|---|---|---|
| Crypt #1 | Greifberg Lower Bastion | I → IV → II → III | Crest of House Greif & 500 Dinarius | Sever tripwire behind lever III |
| Crypt #2 | High Bastion Hamlet Outskirts | Left → Right → Center | Sanzhani Silk Cache & Fine Steel | Pressure plate weight puzzle |
| Crypt #3 | Iron Bastion Foundry Vaults | III → I → IV → II | Sigil of the Iron Boar | Jam gear cog with iron piton |
| Crypt #4 | Weeping Crag Overlook | High → Low → Left → Right | Rare Gemstones & Silver Filigree | Rotate sun dial 90 degrees |
| Crypt #5 | Svartrau Outer Trench | II → III → I → IV | Signet of the Black Ram | Floor grate oil ignition |
| Crypt #6 | Maragir Bog Sunken Chapel | North → East → South → West | Alchemical Mandrake Stockpile | Cut tension cable behind altar |
| Crypt #7 | Old Gallows Hill Barrow | IV → II → III → I | Bloodforged Dagger & Silver Ore | Stand on raised relief stone |
| Crypt #8 | Weeping Crag Deep Caverns | Right → Left → Right → Center | Pendant of the Weeping Wolf | Freeze water wheel with ice spell |
| Crypt #9 | Sangora Mines Drainage Shaft | I → III → II → IV | 12x Refined Silver Ingots | Disarm pressure plate under carpet |
| Crypt #10 | Cathedral Under-Vault | Oberhau → Unterhau → Zornhau | Consecrated Saint Ingot #1 | Parried bell strike resets timer |
| Crypt #11 | Whispering Pines Cemetery | III → IV → I → II | Master Craftsman Hammer | Anachora Sight reveals hidden switch |
| Crypt #12 | Greifberg Eclipse Sarcophagus | IV → III → II → I | Coronet of the Blind Duke | Inscribe Solar Hex Rune on lock |
Step-by-Step Walkthrough: The Cathedral Under-Vault (Crypt #10)
Crypt #10 beneath St. Sangora Cathedral contains the game’s most critical upgrade material—Consecrated Saint Ingot #1. Follow this exact procedure to avoid triggering the crushing ceiling trap:
1. Defeating the Crypt Guardian
Before reaching the levers, you must clear the chapel of inquisitorial zealots led by Corrupted Prior Mihai. Parrying his silver mace creates the clearance needed to access the puzzle wall.
2. Identifying the HEMA Stance Glyphs
On the north stone wall, three iron levers are marked with weapon stance reliefs:
- Lever 1 (Left): Carved with the Oberhau (High Stance) downward broadsword symbol.
- Lever 2 (Center): Carved with the Unterhau (Low Stance) upward thrust symbol.
- Lever 3 (Right): Carved with the Zornhau (Diagonal Cleave) symbol.
3. Pulling the Sequence
- Pull Lever 1 (High Stance). A heavy clunk confirms tumbler engagement.
- Pull Lever 2 (Low Stance). The floor tremors slightly.
- Pull Lever 3 (Zornhau). The central altar rotates 180 degrees, opening the hidden stairwell to the sarcophagus containing Saint Ingot #1 and the Seal of House Sangor.
Tactical Tips for Puzzle Navigators
- Listen for Acoustic Cues: A deep resonant chime indicates a correct lever input, while a sharp metallic rattle signals a sequence mismatch.
- Bring Durability Spares: Poison dart traps deal substantial durability damage to equipped armor shields. Keep repair kits handy or equip backup bucklers.
- Lever Reset Cooldown: If an incorrect lever is pulled, step back into the entrance vestibule until the mechanism finishes its 10-second automatic reset.
Related Articles
walkthrough
Withering Away Quest Guide: Correct Medicine Recipe to Save Esme
Step-by-step recipe to brew Esme’s medicine in the Withering Away quest in The Blood of Dawnwalker. Avoid the stove UI lockout, use clean water, and save Esme.
walkthrough
Crake Manumits Rebellion Walkthrough: Questline, Silas Lab & Siege Guide
Complete walkthrough for Crake and the Manumits rebellion in The Blood of Dawnwalker. Where Loyalties Lie, What Moves the Dead lab puzzle, and Greifberg assault.
walkthrough
Home Sweet Home Quest Guide - The Blood of Dawnwalker
Complete walkthrough for Home Sweet Home quest in The Blood of Dawnwalker. Solve the Ambrosius Tower dream loop, reverse hearth puzzle, and unlock Ending 6.
Was this helpful?
Thanks for the feedback!