Boyar Relics & Sanzhani Talismans: Locations & Synergy Builds
Complete catalog of all 12 Boyar family relics and Sanzhani talismans in Dawnwalker. Crypt coordinates, passive stats, and build synergy combinations.
FAQ
How many Boyar relics and Sanzhani talismans exist in the game?
Which talisman is permanently missable through narrative choices?
Can you equip multiple Boyar relics simultaneously?
Do Sanzhani Talismans function during daylight hours?
Quick Answer: Boyar Relics & Sanzhani Talismans
In The Blood of Dawnwalker, ancient power is concentrated within the 12 Boyar Relics and Sanzhani Talismans. These equipable curios provide transformative passive bonuses that redefine Coen’s defensive poise, parry windows, and elemental scaling:
- Boyar Family Relics (6 Items): Heavy martial crests salvaged from subterranean ancestral vaults, enhancing HEMA guard efficiency, Holy Silver damage, and armor hardness.
- Sanzhani Talismans (6 Items): Ethereal silk and chrysalis curios recovered from dimensional rifts and ancient covens, amplifying witchcraft potency, shadow evasion, and blood recovery.
- Critical Acquisition Rule: The premier talisman—the Moth Talisman (+25% parry window, +30% spirit recovery)—is strictly missable if you execute Xanthe the Dark Mistress instead of sparing her at 5% HP.

The Dawnwalker Saga - Boyar Lore & Relics
Complete Catalog of Relics & Talismans
The matrix below details all 12 canonical artifacts, their precise dungeon locations, passive parameters, and optimal build synergies:
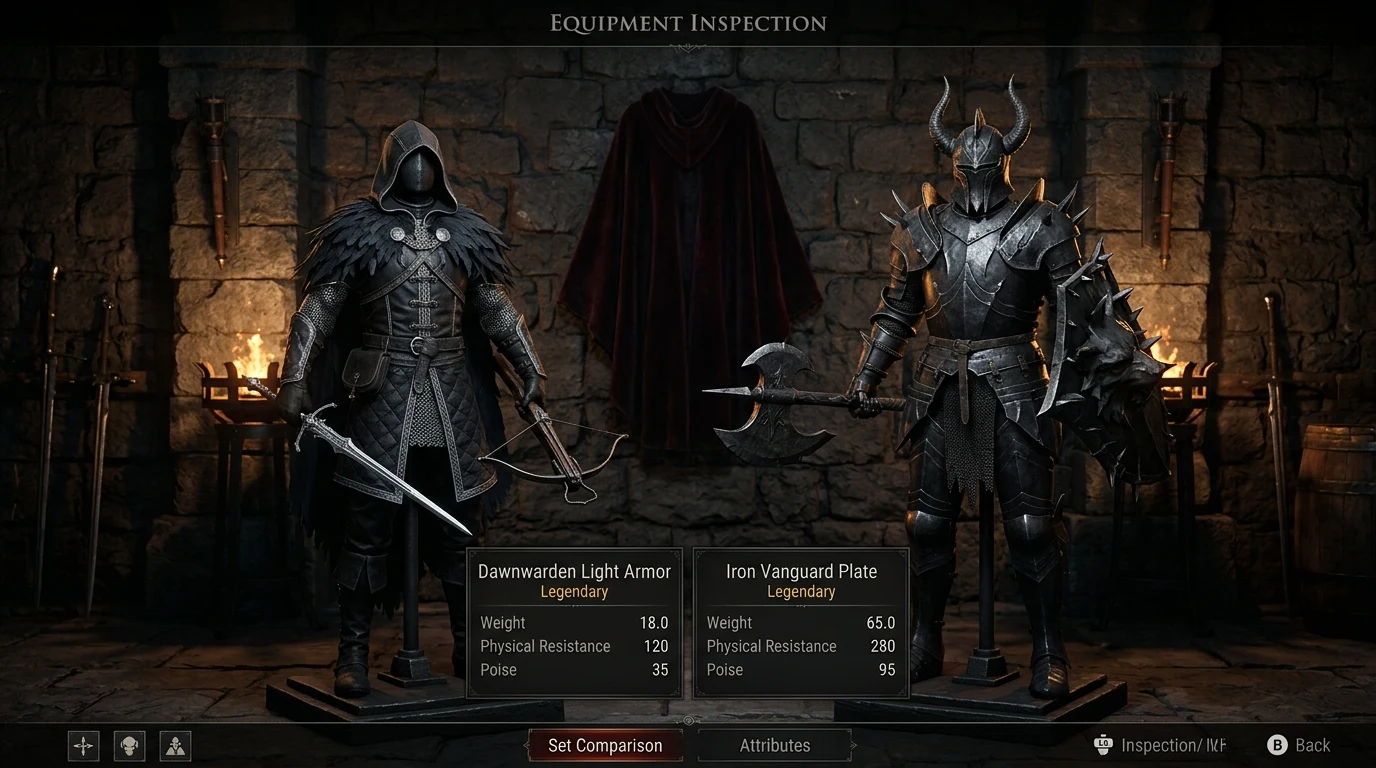
Master Relic & Talisman Database
| Name | Category | Crypt / Dungeon Location | Passive Effect & Combat Parameters | Recommended Build Synergy |
|---|---|---|---|---|
| Crest of House Greif | Boyar Relic | Crypt #1 (Greifberg Lower Bastion) | +15% Holy Silver damage; +20 Max Stamina | Pure Silver Swordmaster |
| Sigil of the Iron Boar | Boyar Relic | Crypt #3 (Iron Bastion Foundry) | -25% stamina drain on High Stance blocks; +15 Poise | Heavy Plate Vanguard |
| Signet of the Black Ram | Boyar Relic | Crypt #5 (Svartrau Outer Trench) | +30% critical riposte damage following a Perfect Parry | HEMA Critical Parry Specialist |
| Pendant of the Weeping Wolf | Boyar Relic | Crypt #8 (Weeping Crag Caverns) | +10% lifesteal when striking below 30% HP | Nocturnal Berserker |
| Seal of House Sangor | Boyar Relic | Crypt #10 (Cathedral Under-Vault) | Prevents weapon durability loss against heavy armor plate | All Melee Loadouts |
| Coronet of the Blind Duke | Boyar Relic | Crypt #12 (Eclipse Sarcophagus) | Reveals hidden illusory walls and secret pressure plates | Explorer / 100% Completion |
| Moth Talisman | Sanzhani Talisman | Spared Reward from Lady Xanthe | +25% parry grace window; +30% Spirit recovery | High-Agility Dual Wielder |
| Chrysalis Thread Talisman | Sanzhani Talisman | Chrysalis Rift #1 (Maragir Bog) | Reduces Mist Stride blood pool cost from 15 to 8 | Nocturnal Frenzy Vampire |
| Weaver’s Obsidian Eye | Sanzhani Talisman | Chrysalis Rift #2 (Sunken Grotto) | Highlights enemy posture break thresholds in bright violet | Posture-Break Executioner |
| Talisman of Sanguine Amber | Sanzhani Talisman | Chrysalis Rift #3 (Witch Vera’s Altar) | Extends Sanguine Surge damage sweet spot from 80% to 88% | Blood Hunger Frenzy Master |
| Ashen Cocoon Talisman | Sanzhani Talisman | Chrysalis Rift #4 (Brencis’ Oubliette) | Grants 2.0s invulnerability when taking fatal damage (1x per rest) | Hardcore Survivalist |
| Talisman of the Silver Moth | Sanzhani Talisman | St. Mihai Crucible Secret Chamber | Converts 15% of physical strike damage into radiant solar AR | Hybrid Witchcraft & Silver |
Crypt Lever Sequences & Puzzle Integration
Six of the family relics are locked behind intricate subterranean lever mechanisms located throughout ancient Boyar burial chambers. Entering these vaults without deciphering the correct sequence triggers lethal dart traps and crushing stone gates.
- Study the full mechanical solutions and sequence formulas in our Boyar Crypts Lever Puzzle Guide.
- For players seeking supernatural shortcuts, attuning your spirit across dimensional tears via the Sanzhani Chrysalis Rift Walkthrough reveals ethereal spectral echoes that outline hidden lever combinations.
Optimal Endgame Loadout Combinations
To extract maximum performance from your relic slots, consider these field-tested combinations:
- The Immortal Duelist: Moth Talisman + Signet of the Black Ram. Extends parry timing while boosting riposte output to over 320% critical damage.
- The Sanguine Berserker: Talisman of Sanguine Amber + Pendant of the Weeping Wolf. Allows prolonged combat inside the danger threshold while sustaining health through rapid claw recovery.
- The Holy Inquisitor: Crest of House Greif + Talisman of the Silver Moth. Converts over 45% of your standard swordplay into unmitigated radiant damage against vampiric foes.
Related Articles
items
The Draught of Mind Rebirth: Recipe, Vendor Locations & Respec Guide
Complete item guide for The Draught of Mind Rebirth in The Blood of Dawnwalker. Full alchemy recipe, vendor prices, time costs, and skill reset mechanics.
guides
Blood Hunger & Frenzy Guide: Sweet Spot, Sanity & NPC Safety
Master blood hunger thresholds, the 60-80% frenzy sweet spot damage bonus, nocturnal feeding loops, and zero-friendly-casualty tactics in Dawnwalker.
items
Legendary Weapons Catalog: Max Scaling, Arts & Silver Refinement
Complete database of legendary weapons in Dawnwalker. Base stats, +10 silver refinement scaling, unique weapon arts, posture damage, and conversion formulas.
Was this helpful?
Thanks for the feedback!